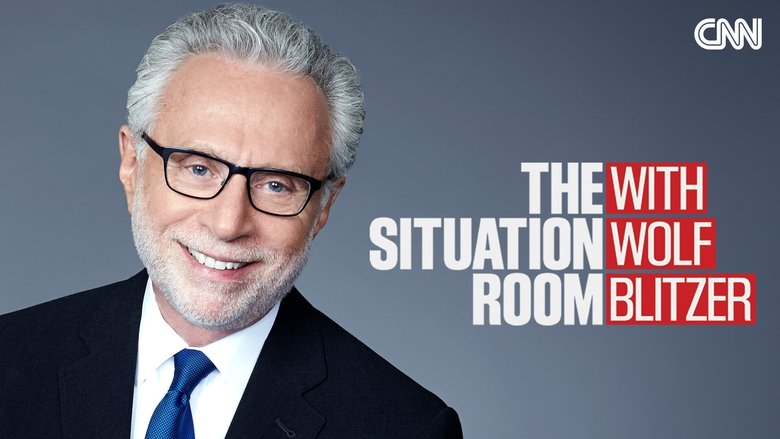
The Situation Room with Wolf Blitzer – galeria zdjęć

The Situation Room with Wolf Blitzer – Obraz 3
Obraz 3 / 13
Tła

Autor:

The Situation Room with Wolf Blitzer – Obraz 1 The Situation Room with Wolf Blitzer – Obraz 2 The Situation Room with Wolf Blitzer – Obraz 3 The Situation Room with Wolf Blitzer – Obraz 4 The Situation Room with Wolf Blitzer – Obraz 5 The Situation Room with Wolf Blitzer – Obraz 6 The Situation Room with Wolf Blitzer – Obraz 7 The Situation Room with Wolf Blitzer – Obraz 8 The Situation Room with Wolf Blitzer – Obraz 9 The Situation Room with Wolf Blitzer – Obraz 10 The Situation Room with Wolf Blitzer – Obraz 11 The Situation Room with Wolf Blitzer – Obraz 12 The Situation Room with Wolf Blitzer – Obraz 13

3.3

1x hlasované